Excuse my absence last week, I have been having some computer issues that took some time to work out. I should be back up and running now! I’m a little behind on some scheduled posts, so check back next week for some fun new stuff coming up!
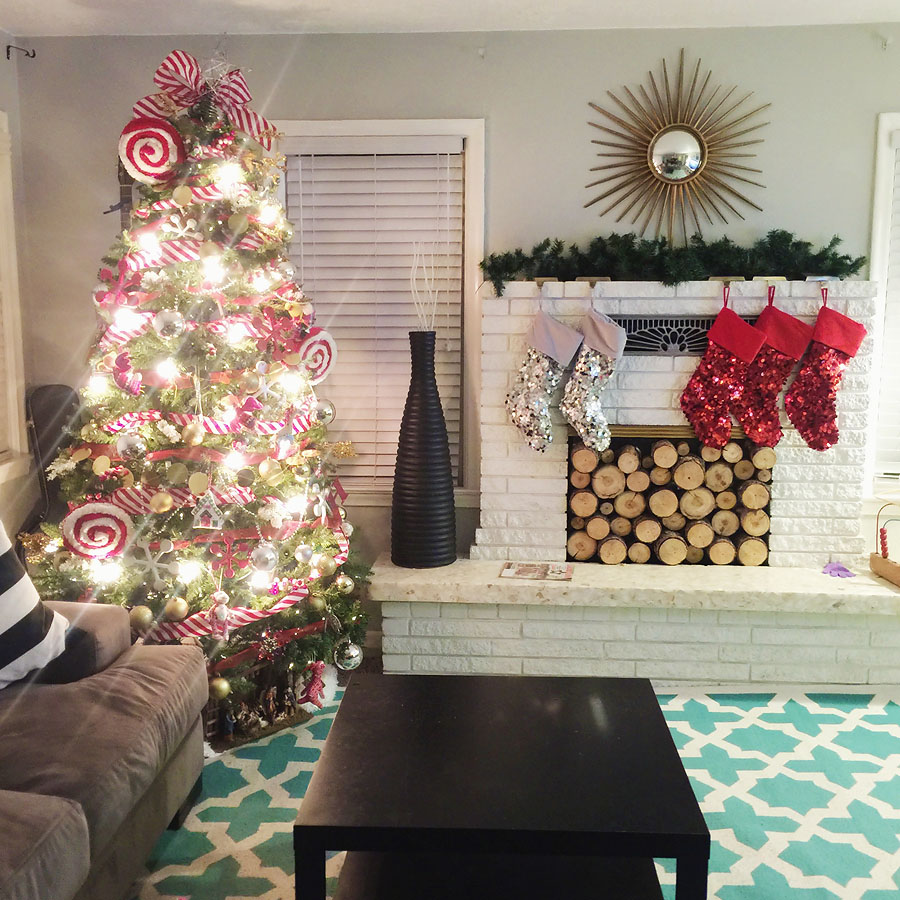
As we start moving into the holidays, I’ll be sharing bits of what we do around here. This weekend was the tree!
I have never decorated for Christmas before Thanksgiving, but I think I’m converted. It feel so cozy in our home and it’s made me even more excited for Thanksgiving this year. I’m 100% sold on squishing these holidays together.
Our tree has never really had any rhyme or reason and I wanted to teach myself how to REALLY decorate a Christmas tree this year, but I still wanted it to feel like a family tree with all the ornaments my girls loved. Every year, we let the girls each pick a new ornament for the tree and I want that tradition to go on forever! I love the memories they hold.
Today I’m sharing my tips for a family friendly tree, with a more uniform look.
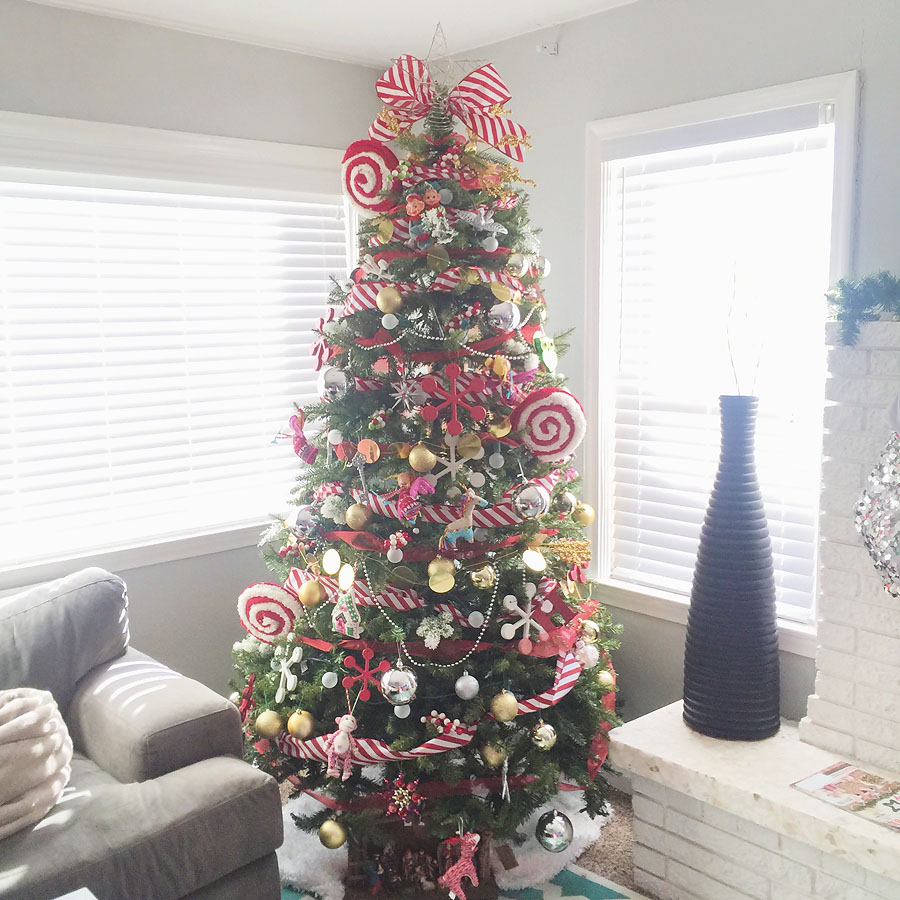
Step One – Ribbon: One thing that was a game changer this year was RIBBON. All the professional trees seemed to have that in common, so off to Michael’s I went. Their ribbon and Christmas decor was 40% off over the weekend, so the ribbon cost me just a few dollars a piece. (I used about 15 yards of each) I can’t believe how big of a difference it made! I used a solid red in about 2 inch thick, and a 3.5 inch thick red and white striped. I figured that color pallet wouldn’t be overwhelming and I could still add in the random colored ornaments without any issue. (I used the tips for stringing ribbon from HERE. It was super helpful.)
*Another thing I did was string bigger bulb lights over our already pre-lit tree. I love how the different size bulbs just sparkle at night. I just threw one strand on and sort of zig-zagged it up the top when I did the ribbon.
(I did need the ribbon to be placed correctly, but I let the girls help by following me holding the ribbon and the other girl would loop a branch around it to hold it into place where I told her to. They were happy to help and even happier with how pretty it looked!)
Step Two – Large Ornaments: Playing with size and texture is an important part of tree decorating, so I added in my bigger ornaments and textured ornaments next. I got my cute snowflake ornaments at Tai Pan a few years ago, but I saw several oversized snowflake options at Walmart and Dollar Tree! I think they make a big difference than just having standard bulbs. I got a few over sized bulb ornaments in gold and silver at Walmart. Once I got the bigger ornaments in place, it really started coming together.
*To add more sparkle, I strung a few of these garlands ($4 from Target) and love the way they look.
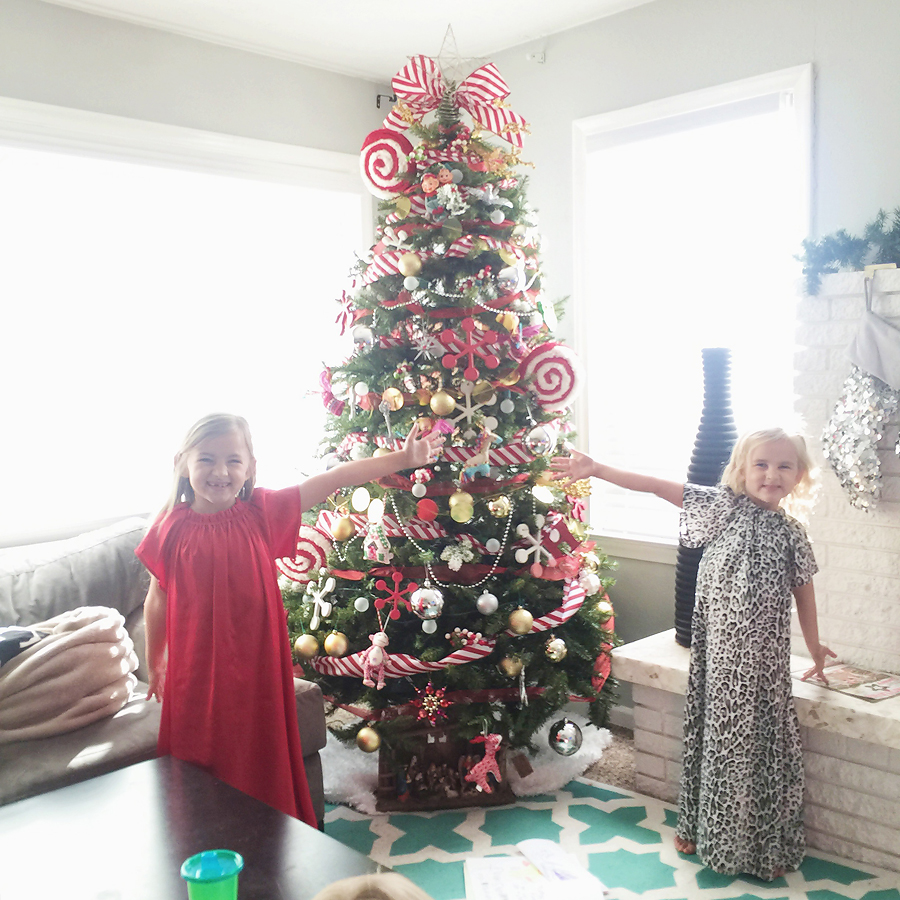
Step Three – Let The Kids: With the ribbon and larger ornaments in place, my tree already looked pretty good. I wanted the kids to be able to hang their favorite ornaments with little input from me, so I let them go wild. They loved that part, and I love the personality and color it adds to the tree. It would have been too uniform without it. I even love the imperfectly strung garlands Harlo added. 🙂
Step Four – Finishing Touches: The tree was missing a little something at the end, and I knew it needed some statement. I picked up the big lolly-pops at Tai pan and they really pulled everything together. It looked a little too chaotic before. Once I got those in, the star at the top of the tree was looking a little sad, so I made a big bow with some leftover ribbon and added it behind our star. It’s exactly what was missing.
Our girls were very happy that our little Christmas elves, Mimi and Donny, showed up the next morning. That is always an exciting day at the Miller Manor!
I am still working with our mantle for the holidays, but I’m loving the tree so far! I hope that helps someone with a Christmas tree obsession like mine this year. 😀
It’s the HAP-HAPIEST time of the year!
Be sure to follow us along on instagram this holiday season!